Arduino as a remote shutter release for RICOH cameras
Some time ago I bought a RICOH GR III camera. Since I didn't want to pay the amount for the CA-1 remote, I did a little research how this thing works. Soon I came up with Muttyan's home page. This gives a detailed description of the CA-1's internals and how it works. Good job, there you'll find everything you need!
Basically a button half press, a full press and a release are signaled with three different patterns to the camera via its USB connection. No "real" USB protocol is used, just pulsing the USB +5V supply line. Emulating these pulses is an easy job with an Arduino board, so I did a quick proof of concept.
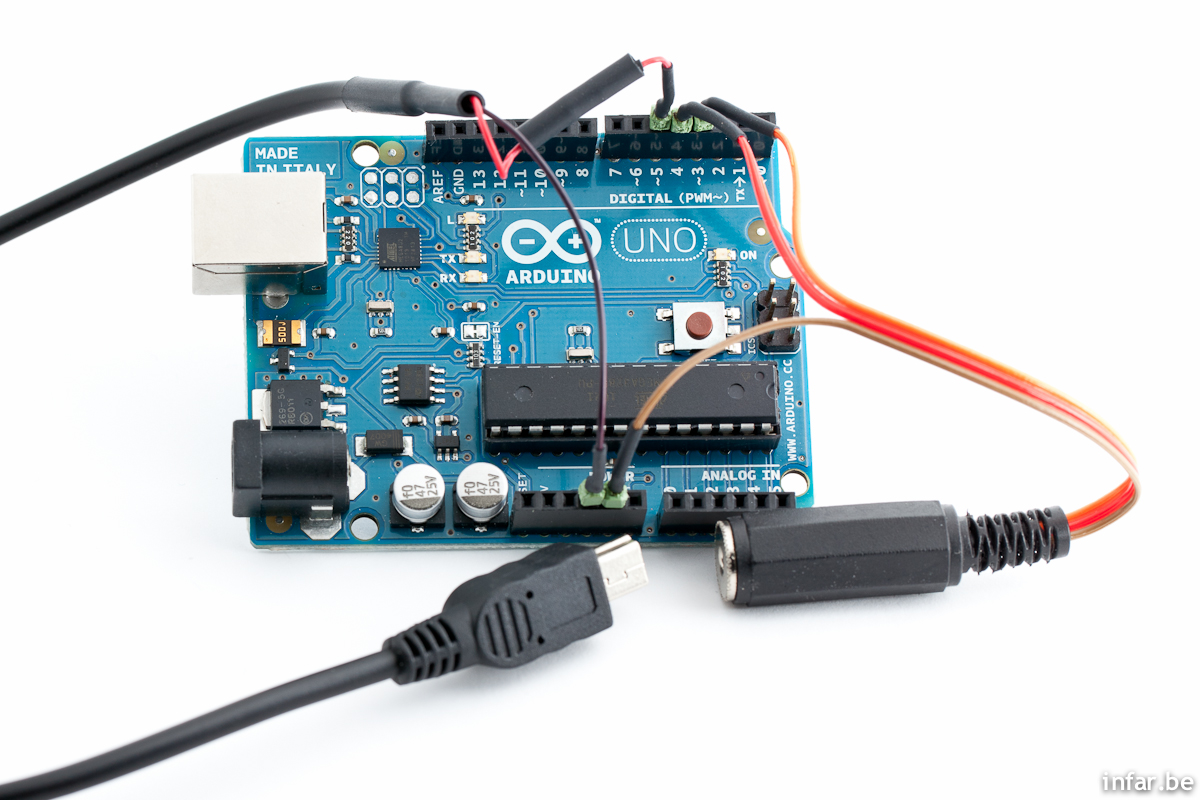

As you can see, I connected the +5V line (usually red) with a 1k Ohm series resistor to Arduino pin 5. The USB ground line (usually black) goes to one of the Arduino GND pins.
The half press switch is connected to Arduino pin 3, the full press switch to pin 4. I put these two signals onto a standard 2.5mm stereo jack. So I can use a remote release cable which I already have available from my Canon cameras. This gives me also the ability to connect the Yongnuo RF-602RX or other radio controlled remote shutter releases to the board.

The mini USB connector goes into the camera like this ;)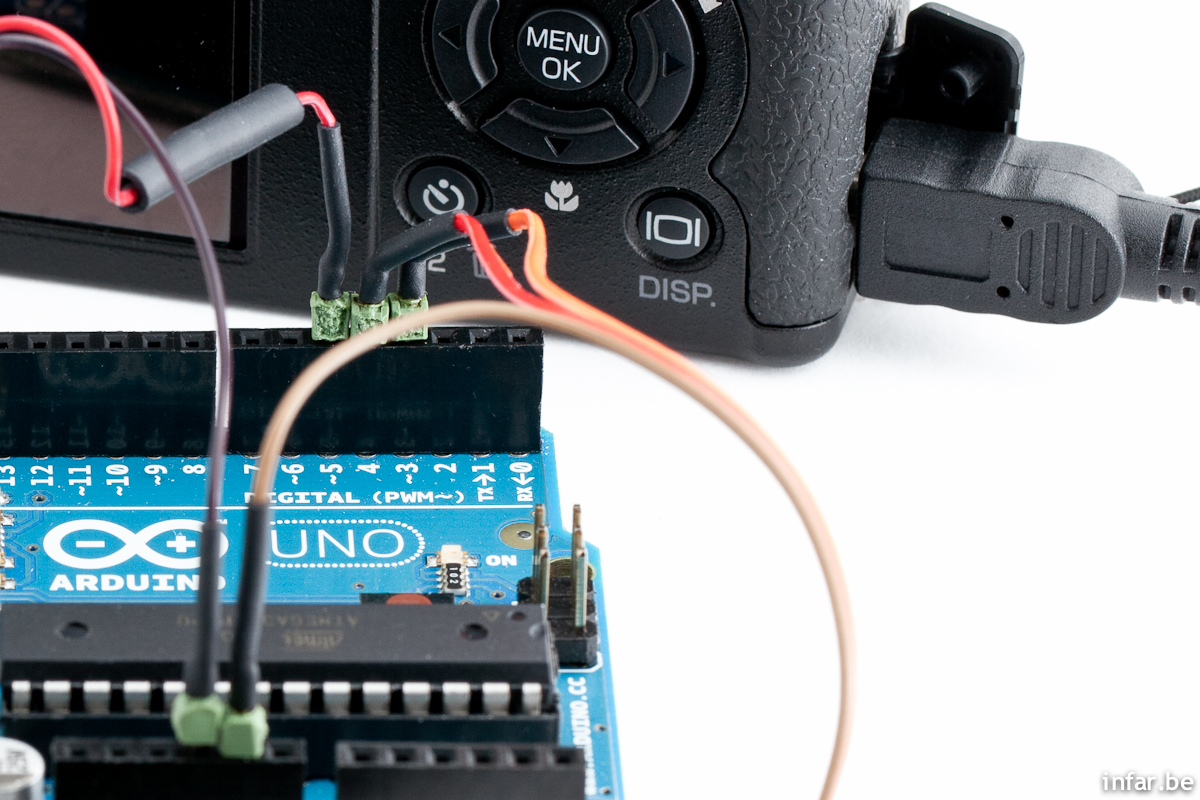
After wiring everything properly I did a quick and dirty implementation. The basic functionality worked. The whole thing does what it should do: Focusing with a half press and shooting with a full press. But it did not work properly every time. I had too much trust into the cheap Canon remote. As always often, bouncing of the switches was the problem. So I included the Arduino Bounce library and everything works fine since then.
I'll provide you source code of both implementations, so you can modify as you like:
Download the basic source code here.
Download the source code with debouncing included here.
With this setup you should be able to shoot all cameras which the CA-1 works with. These are:
RICOH GR Digital III
RICOH GR Digital II
RICOH GR Digital
RICOH GX200
RICOH GXR
RICOH CX4
RICOH CX3
RICOH CX2
RICOH CX1
RICOH GX100
RICOH GX8
So, what are the next steps? After everything works now, I try to do a small hardware design and port everything to an ATtiny, maybe the ATtiny43U. This would save the 2nd boost converter IC. Could be a neat little project, we'll see...

Tracked: Jan 04, 17:37
Tracked: Aug 11, 18:33
Tracked: Jan 10, 06:37